First we start by opening up Gmail.
Click on the More option, and select photo.
Click upload new photos, then select photo and chose the image you will like to use. One the image is up loaded, hover over the image with your courser and four icons will appear, click on the pencil icon.
From here you can first edit your exposure. The photo I was working with was too dark. Make sure you edit your exposure first. DO NOT CROP PHOTO YET!
Next select Text. Choose your text style, color and placement.
Then you crop photo in to a rectangle shape for the header. Right now dimensions and size does not matter if you are a Blogger user. IF you are a Wordpress user, you have to crop to the dimensions that are predetermined by the layout that you are using. It will tell you the dimensions when you try and upload your header.
You will now save your image, skip tagging and skip share. This will take you back to the original Google photo page. From there you will click on Album tab, where your photo will show up in an album. Click the album, then your actual header. Right click, and select COPY IMAGE URL.
Next you will open your Blogger. Select More Options, then Layout.
From there you will select Edit on the Header bar.
Another screen will appear named, Configure Header. Select, From Web, Instead of Title & Description, and Shrink to Fit. Once ALL of those are selected right click in the box under: Paste an image URL below, and paste.
A triangle will appear where the From the Web. Paste and image URL is written. It is Blogger searching for the URL. Once the URL is found the photo of the header will pop up. Then you select Save.
side note: sometimes you have to do the upload into blogger more than once.
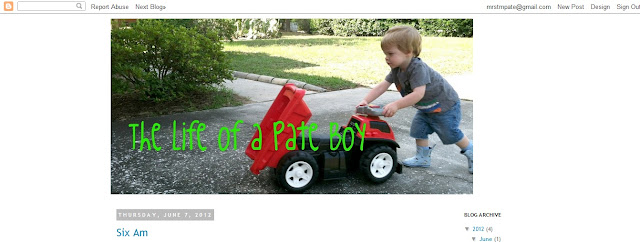
Viola!
View your blog and your pretty new header!
Have a question, or something you want to know how to do? Leave a comment below!


This is great, Tiffany! Thanks for sharing!
ReplyDelete